Materials and CAD Files
The equipment used in our project is entirely available online or 3D printed. We have included the links to
purchase the equipment and 3D printing filament as well as the CAD files below.
This
master spreadsheet contains all the equipment needed and how to obtain them. We detail the equipment
and
objects below.
This includes cameras, bin, spray paint for the bin, and filaments for the 3D printer.
Purchased Equipment
Links to purchase the required equipment can be found here.This includes cameras, bin, spray paint for the bin, and filaments for the 3D printer.
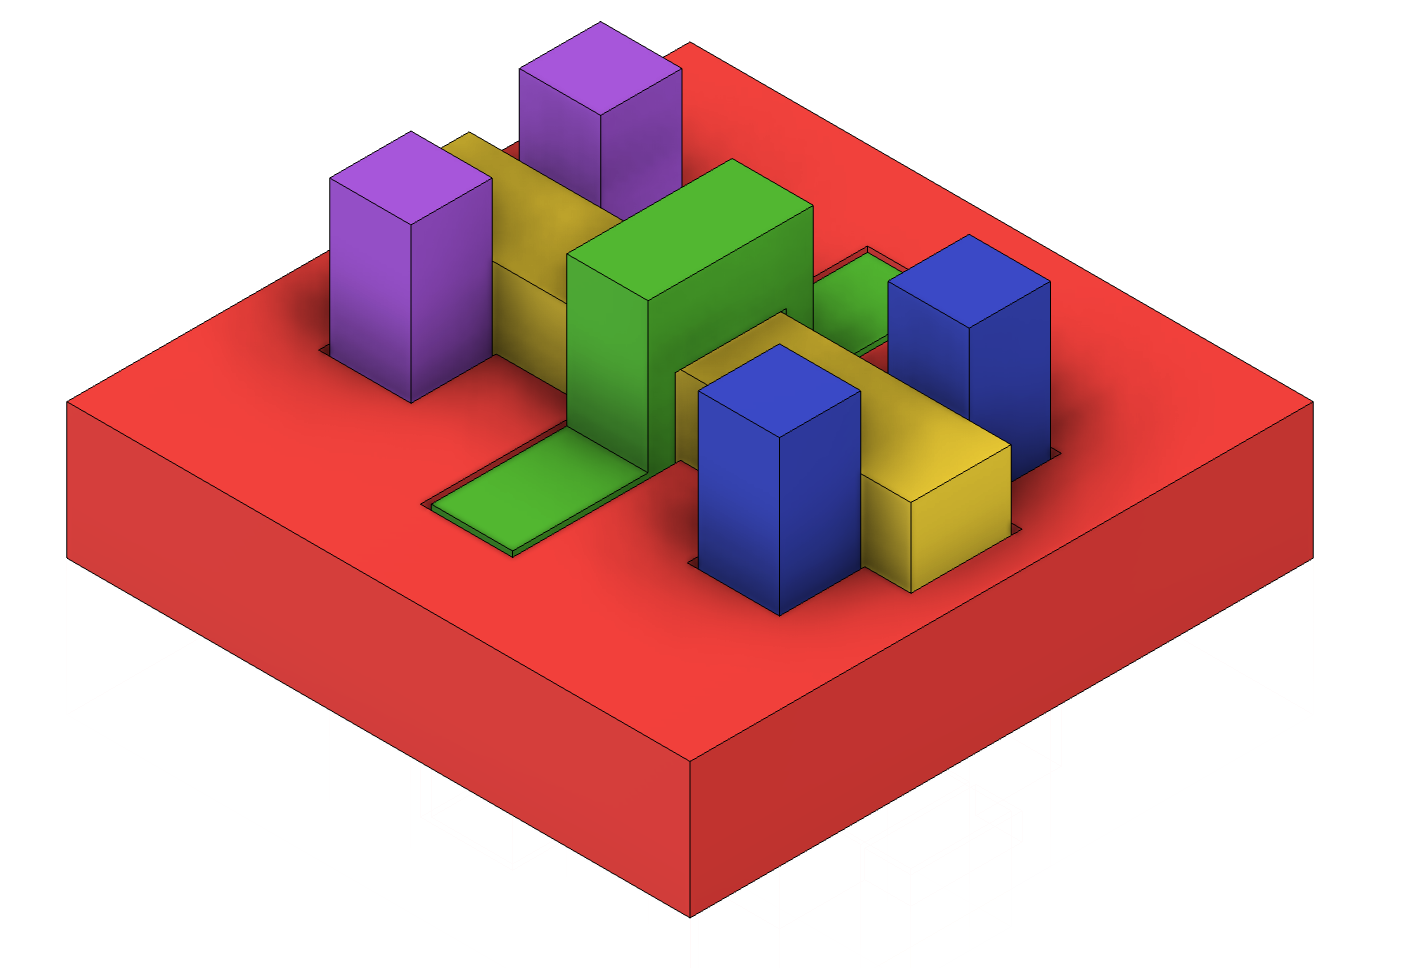
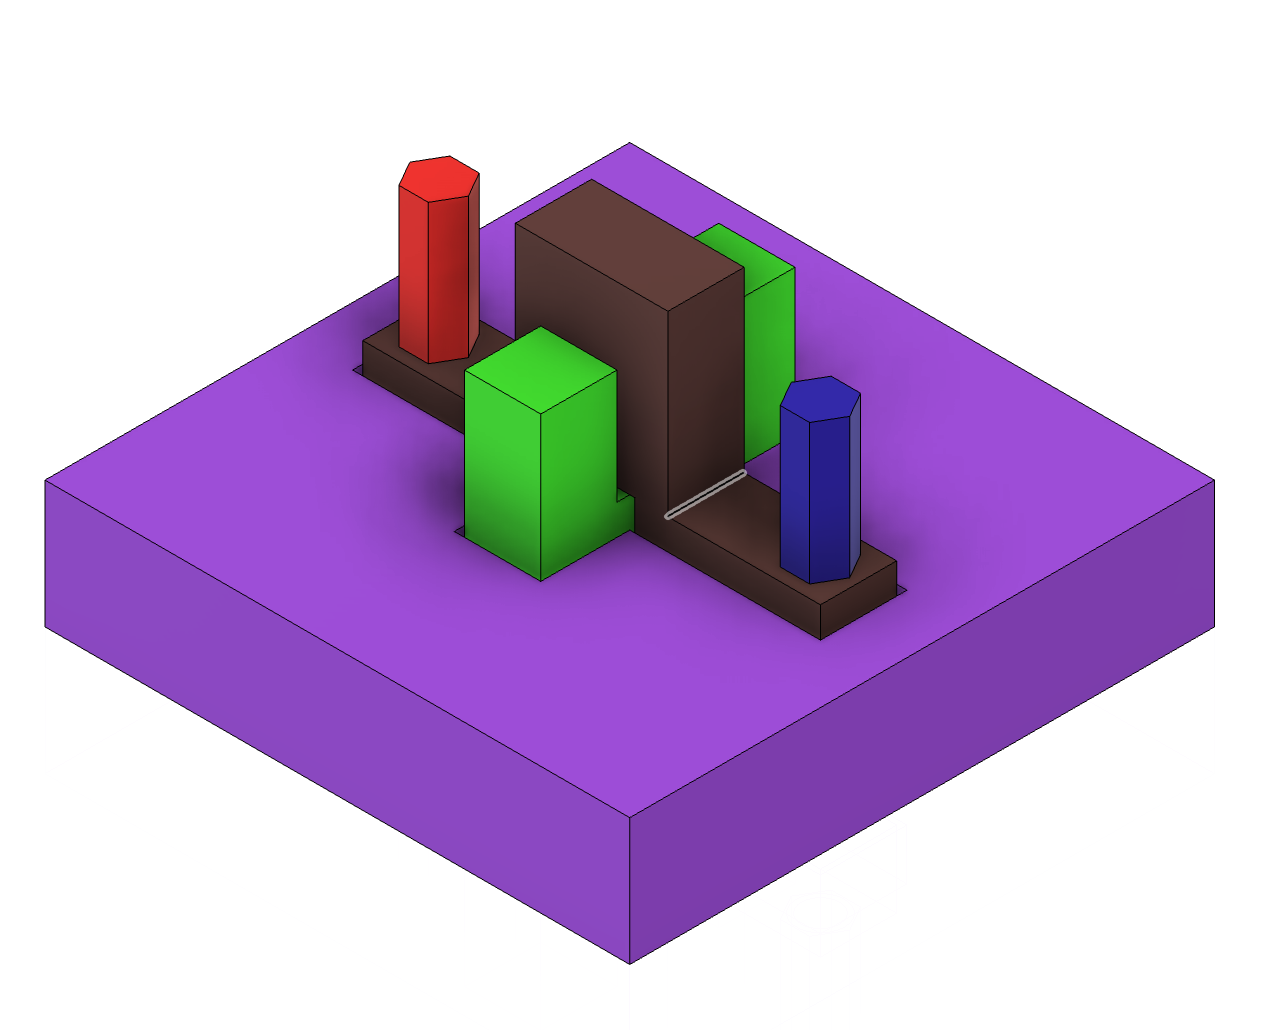
Single-Object Manipulation Objects
Refer to color/shape name and number reference sheet for the name and number assigned to each shape and color throughout our project.
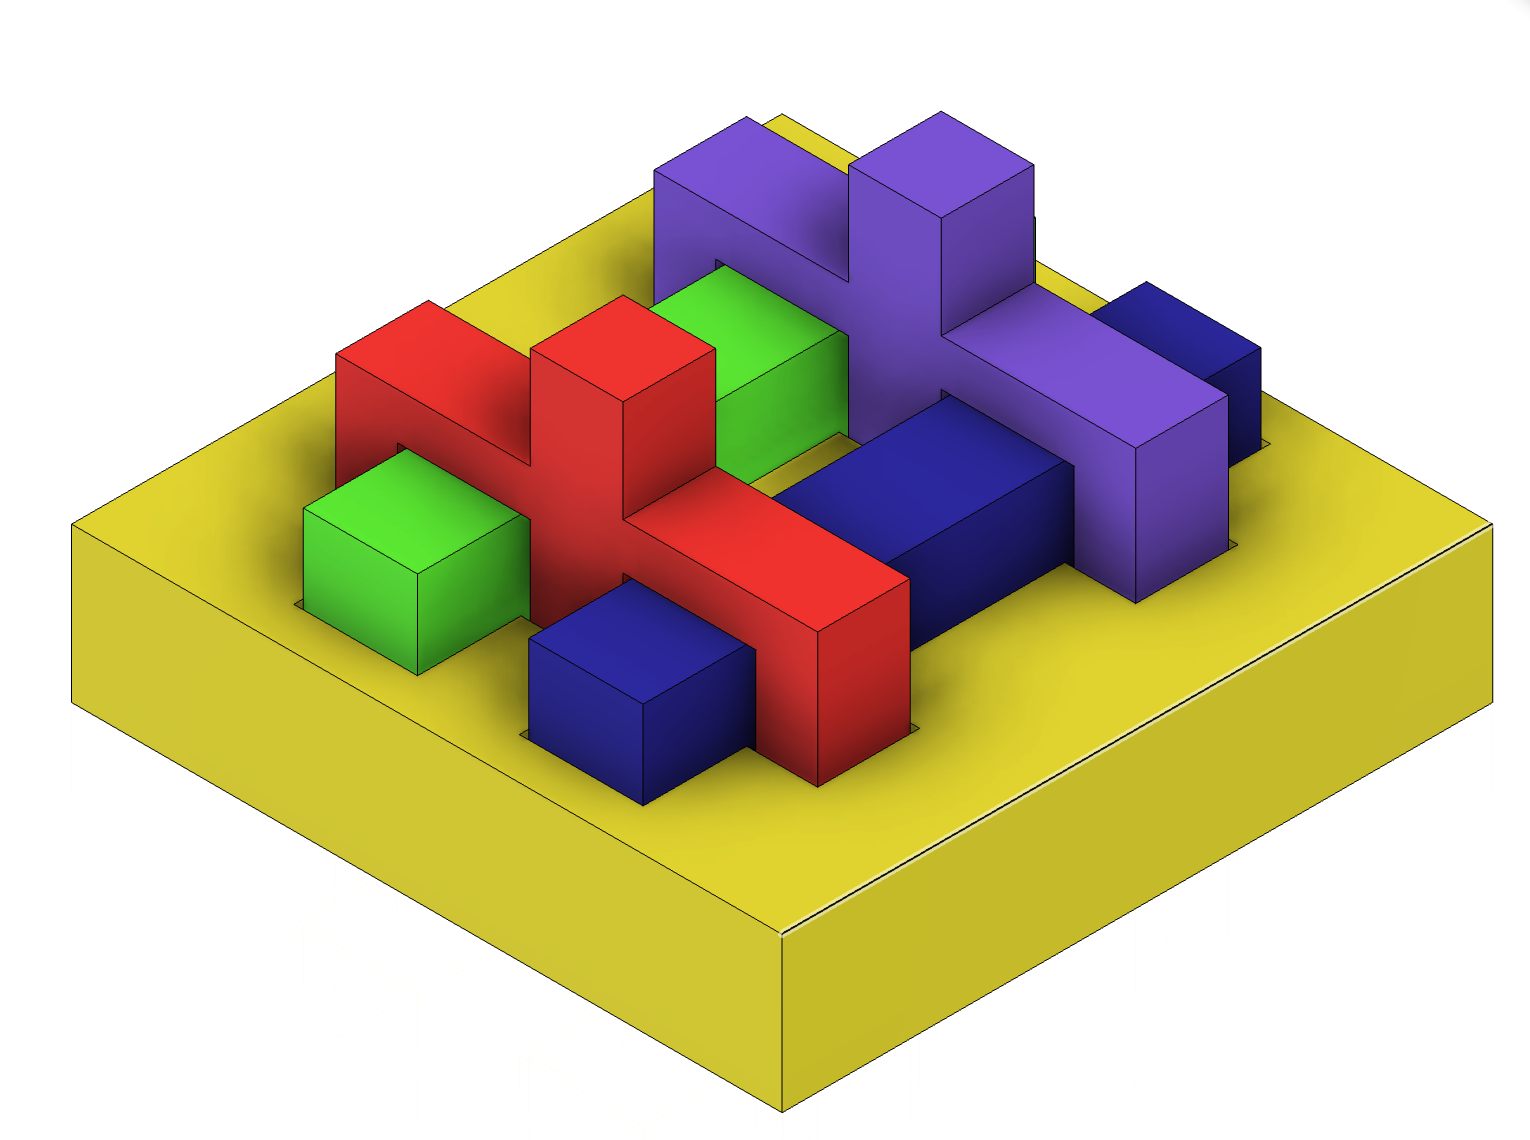
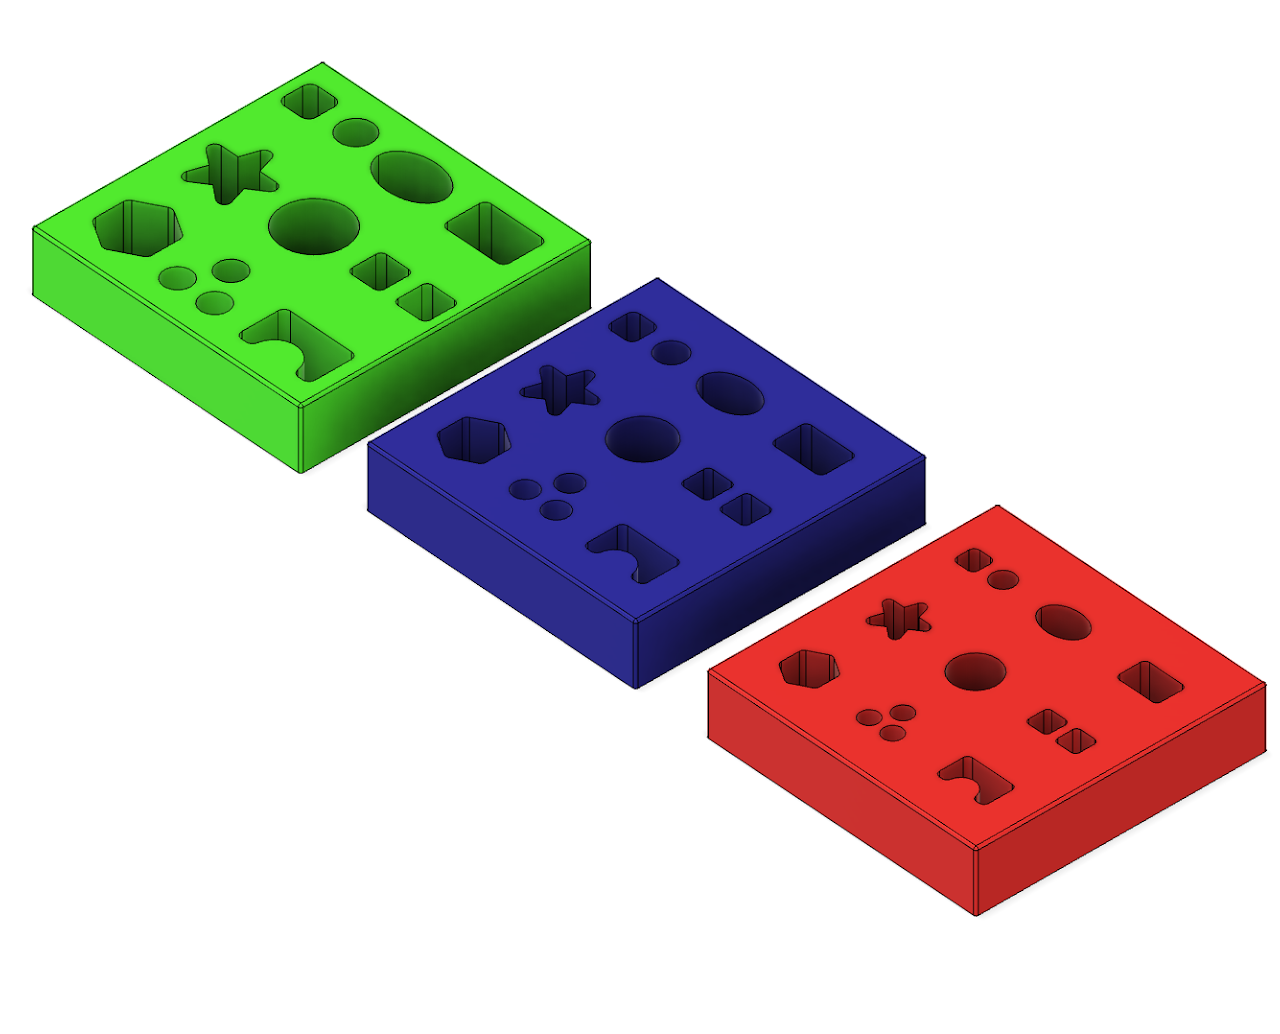
Assembly Boards
Set of 3 boards with 9 holes each. Each board has different sized holes
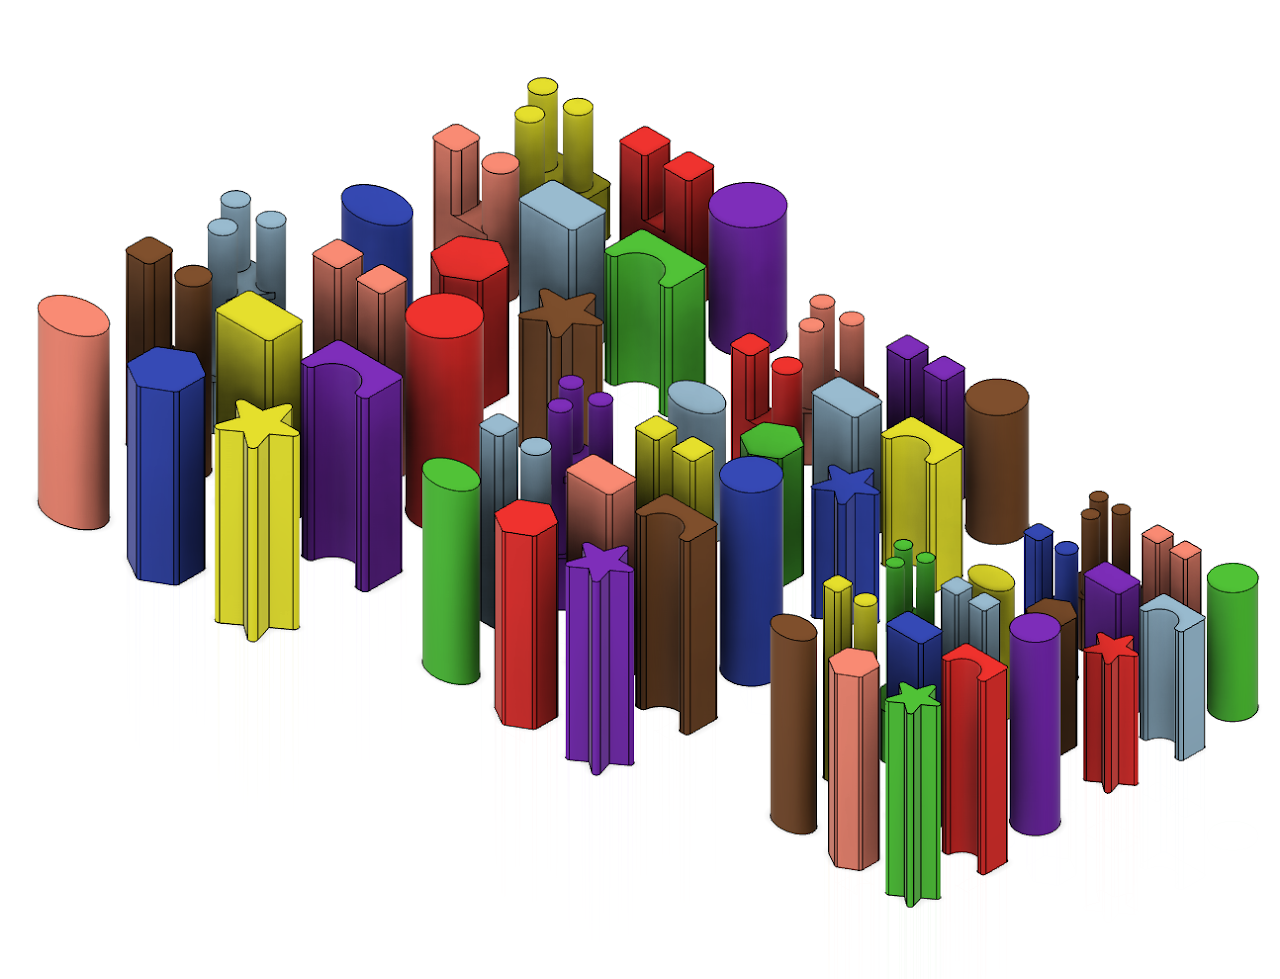
Assembly Objects
Set of pegs of three sizes, two lengths, and 9 shapes each for a total of 54 pegs.
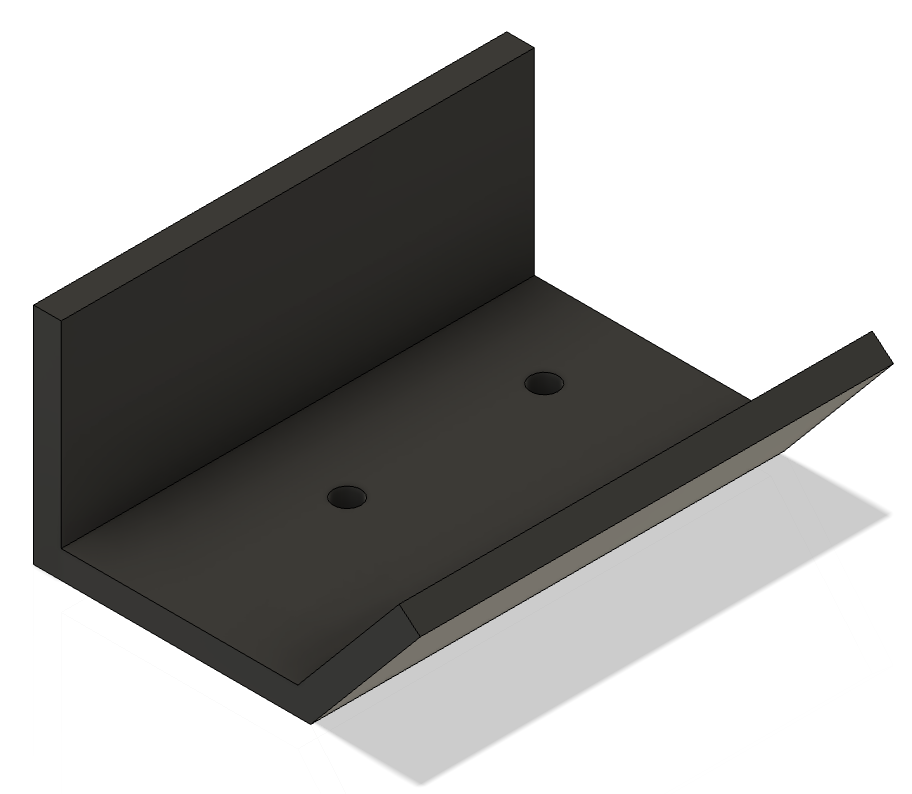
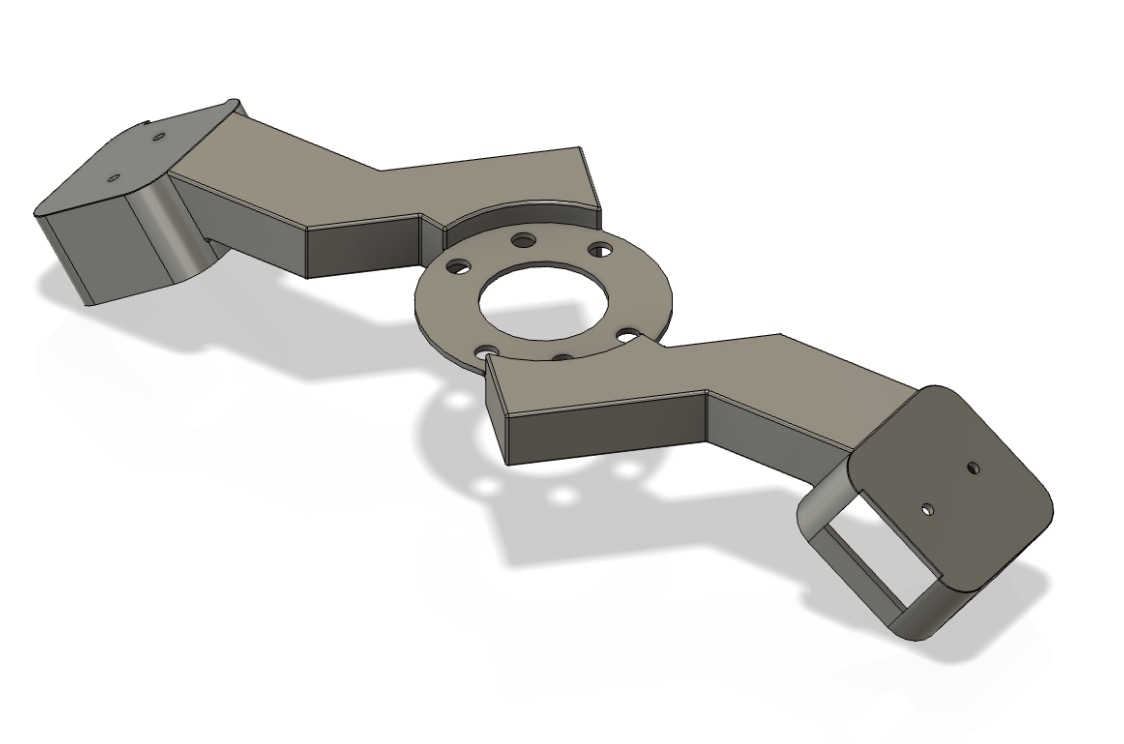
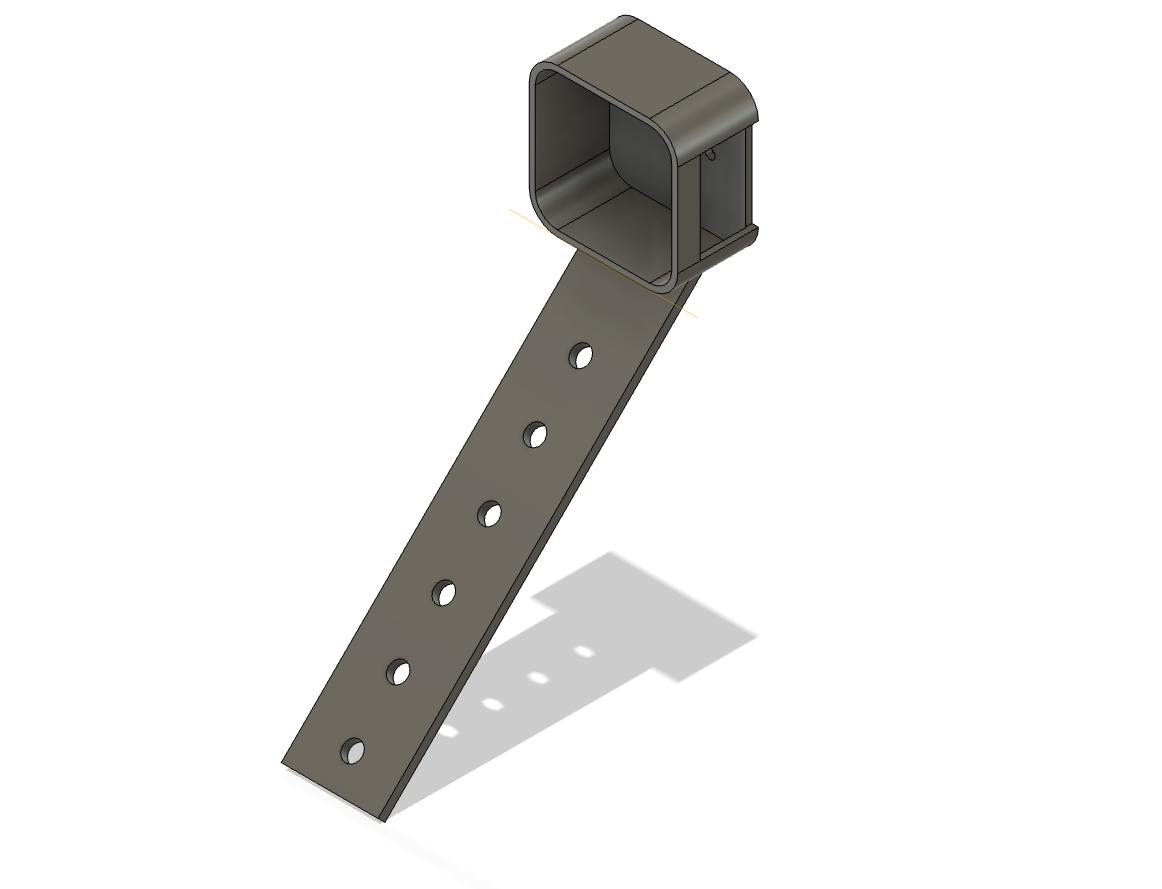
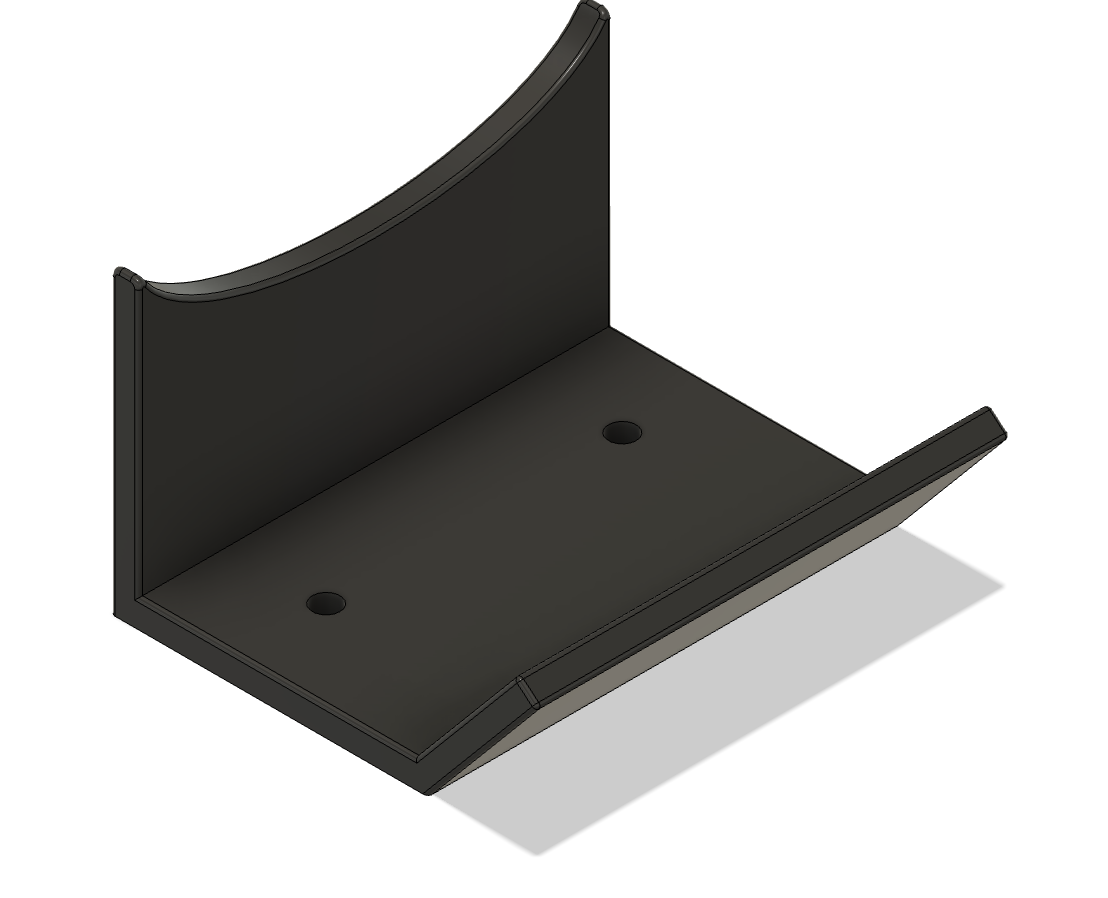
Environment Fixture
Environment reorienting fixture for Single-Object Task pieces